The Organization Settings page is where you configure the core details of your organization -- its name, sport, contact information, address, and key preferences that control how officials interact with your league.
To get here, go to Settings > Organization in the sidebar.
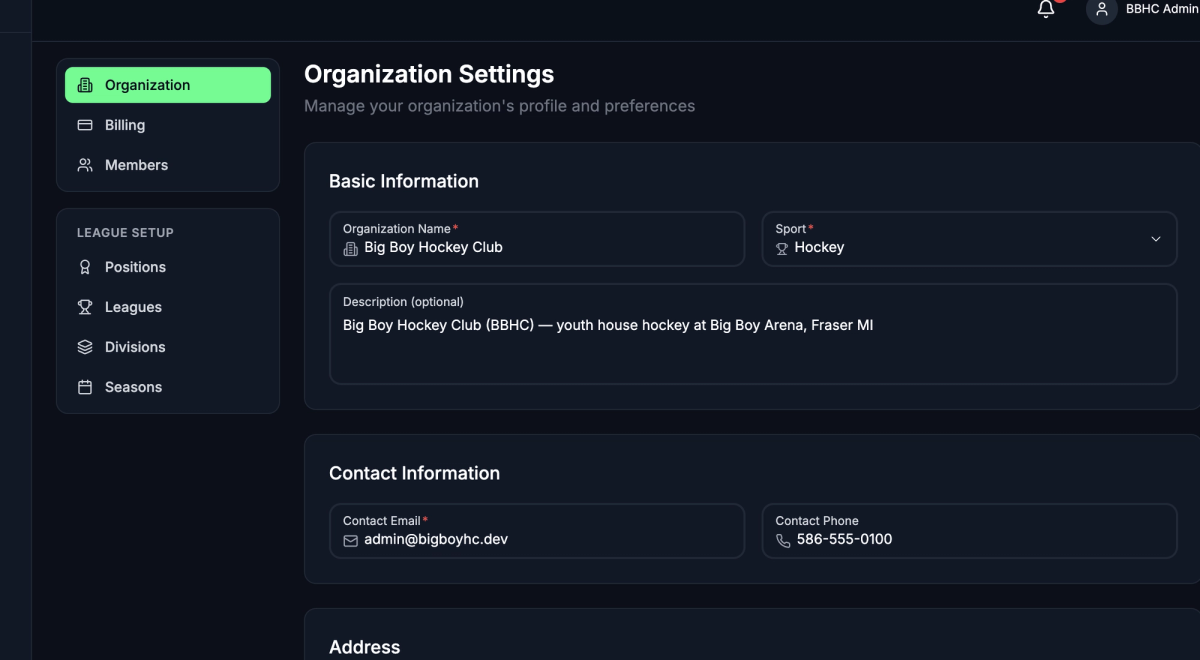
Basic Information
- Enter your Organization Name (required). This is what members see when they join.
- Select a Sport from the dropdown (required). Options include Basketball, Soccer, Football, Baseball, Softball, Volleyball, Hockey, Lacrosse, and Other.
- Add an optional Description to help members understand what your organization is about.
- Click Save Changes at the bottom of the page.
Contact Information
- Enter a Contact Email (required). This is the primary email address for your organization.
- Optionally add a Contact Phone number.
- Click Save Changes.
Address
You can enter your organization's address using the built-in address search.
- Start typing in the Search Address field. Suggestions appear automatically as you type.
- Select the correct address from the list. The street, city, state, ZIP code, and country fields fill in automatically.
- Review the address summary that appears below the search field.
- Click Save Changes.
Preferences
Timezone
Select your organization's Timezone from the dropdown. All game times display in this timezone. Available timezones include US time zones (Eastern, Central, Mountain, Pacific, Arizona, Alaska, Hawaii) and Australian time zones (Sydney, Melbourne, Brisbane, Perth, Adelaide).
Feature Toggles
These three toggles control how officials interact with your organization:
- Allow Self-Signup — Lets officials join your organization without a personal invitation. When enabled, you can share an invite link or code. — Off
- Require Approval — When on, officials who join must be approved by an admin before they can accept game assignments. — On
- Officials Can View Crew — When on, officials can see who else is assigned to the same game. — On
Turn each toggle on or off, then click Save Changes.
Invite Link and QR Code
When Allow Self-Signup is turned on, you can create a shareable invite link so officials can join your organization on their own.
Generate an invite link
- Turn on Allow Self-Signup in the Preferences section.
- In the Shareable Invite Link panel that appears, click Generate Link.
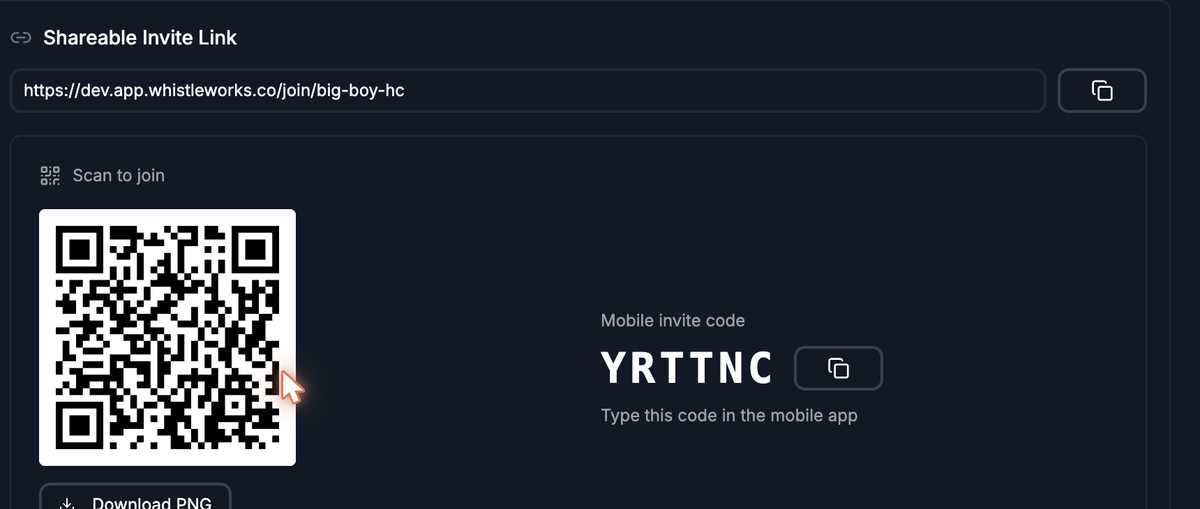
- Your invite link and a QR code are created.
Share the invite link
You have several ways to share:
- Copy the link -- Click the copy button next to the invite URL to copy it to your clipboard. Send it via email, text, or any messaging app.
- Share the QR code -- Officials can scan the QR code with their phone to go directly to the join page. Click Download PNG to save the QR code image for printing or sharing.
- Share the mobile invite code -- A short alphanumeric code is also generated. Officials can type this code directly into the Whistle Works mobile app to join.
Regenerate or revoke the link
- Click Regenerate to create a new link. The old link stops working immediately.
- Click Revoke to disable the link entirely without creating a new one.
What's Next?
- Defining Positions -- Set up the official positions your organization uses.
- Setting Up Leagues -- Create leagues and configure their requirements.
- Managing Team Members -- Invite specific people to your organization.