The Teams page is where you manage the clubs and teams that participate in your leagues. Each team belongs to a league and can be assigned to one or more divisions within that league.
Viewing your teams
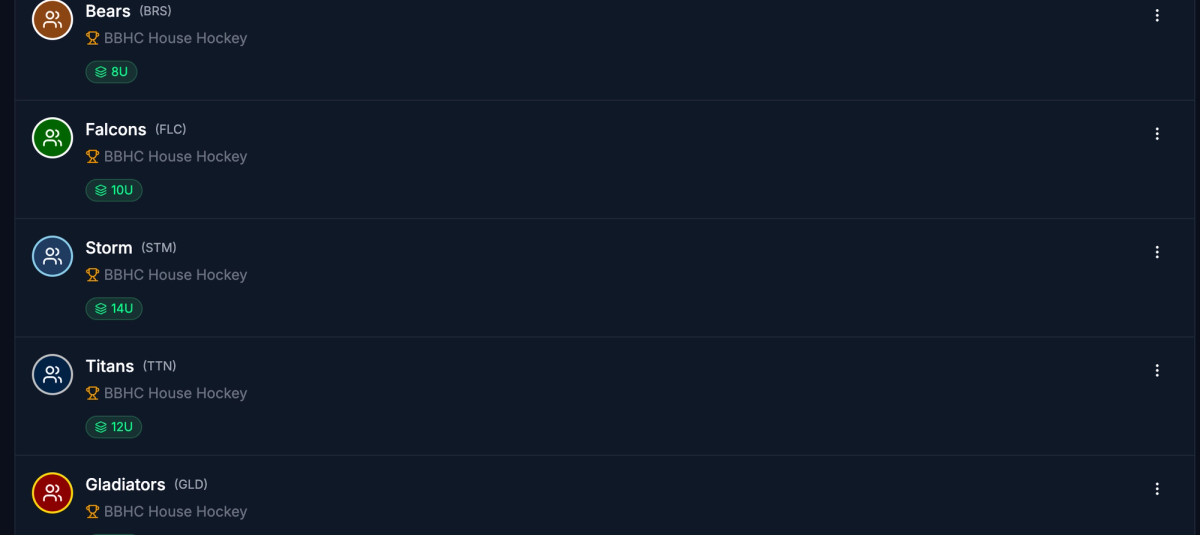
The Teams page displays all active teams, grouped by league. Each team card shows:
- Team name and short name (if set)
- Team colors displayed as a colored circle
- League the team belongs to
- Division badges for each division the team plays in
- Contact information (phone and email, if provided)
- Home venue (if assigned)
- Notes (if any)
The header shows the total number of teams. If a team is marked inactive, it appears dimmed with an "Inactive" label.
Filtering by league
If your organization has more than one league, a league dropdown appears in the header. Select a league to show only the teams in that league.

Creating a team
You must have a Super Admin or League Admin role to create teams.
- Select the Add Team button in the top-right corner.
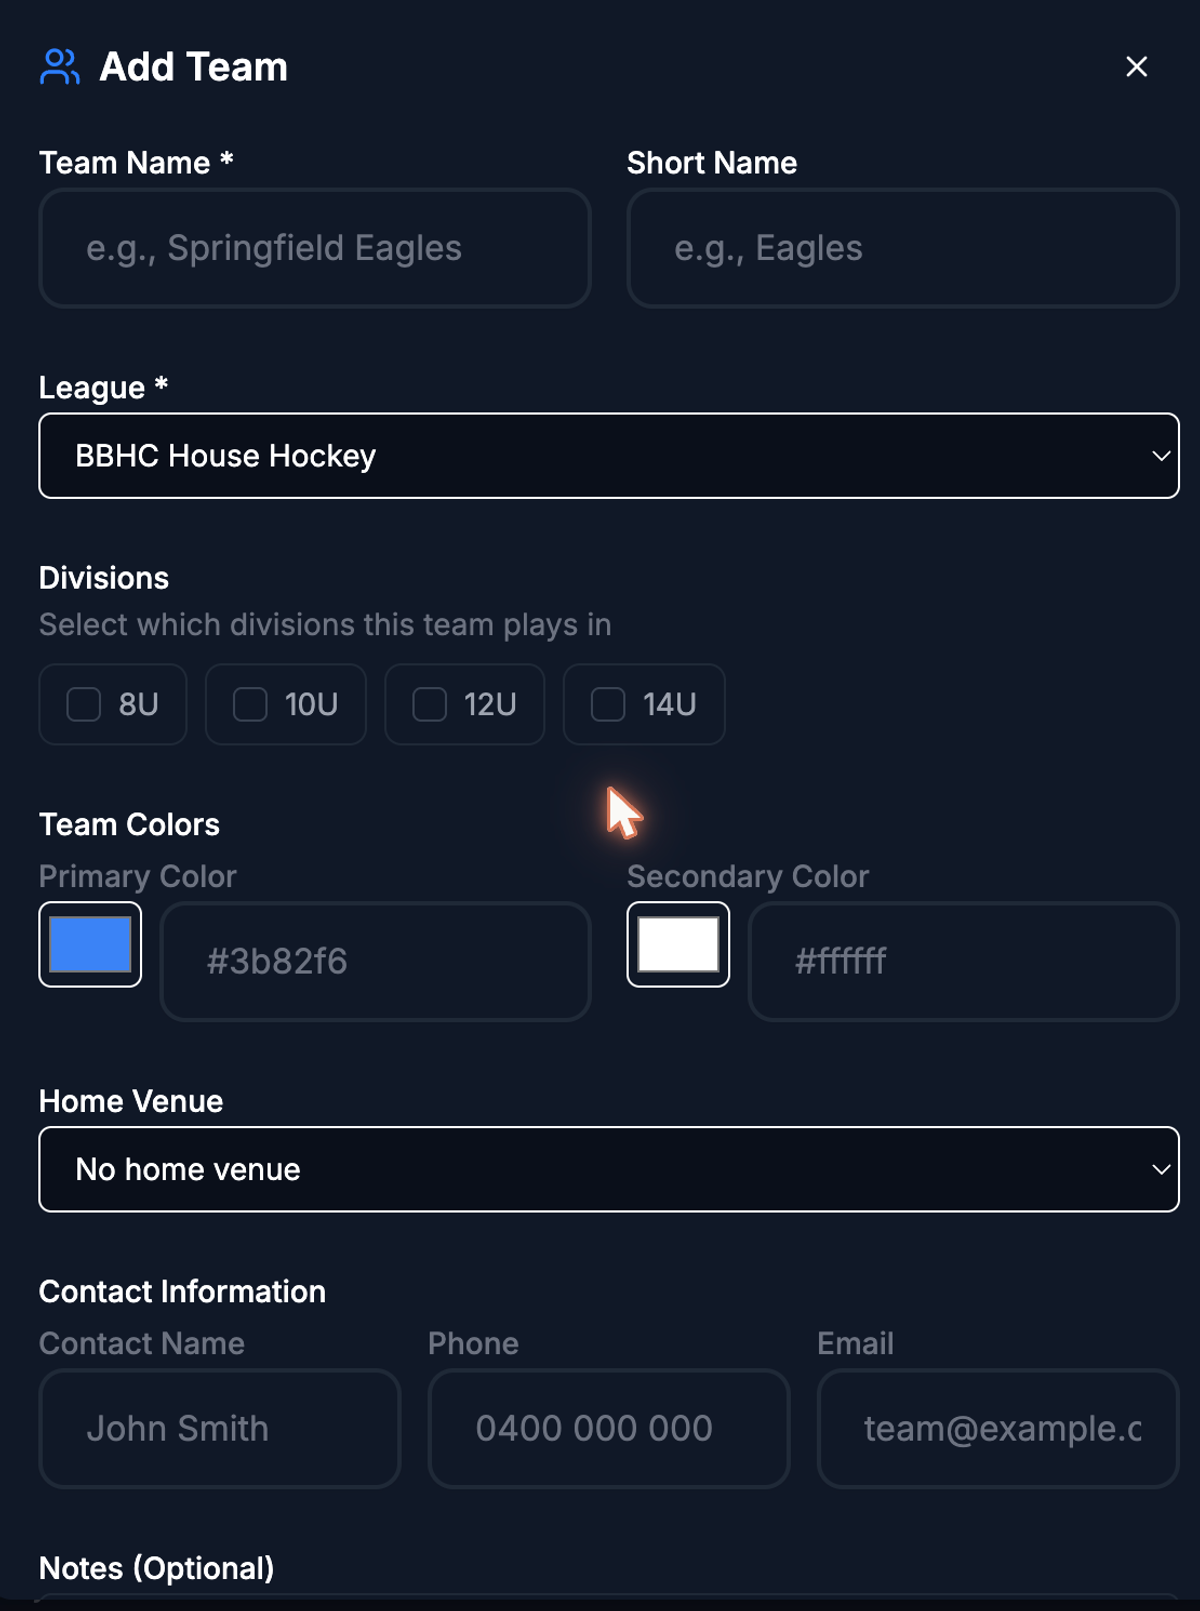
- Fill in the team details:
- Select a League (required). If your organization has only one league, it is pre-selected.
- Select Divisions. After you choose a league, the divisions available in that league appear as checkboxes. Check each division the team plays in.
- Set the Team Colors:
- Optionally select a Home Venue from the dropdown. This sets the team's default location for home games.
- Add Contact Information:
- Add any Notes about the team.
- Select Create Team.
tipIf you do not see any divisions after selecting a league, you need to create divisions for that league first. Go to **Settings > Leagues** to add divisions.
Editing a team
- Select the three-dot menu on the team's row.
- Select Edit.
- Update any fields in the modal that opens.
- Select Save Changes.
All changes take effect immediately.
tipIf you change a team's league, the division selections reset because divisions belong to a specific league. You will need to select the appropriate divisions in the new league.
Deleting a team
- Select the three-dot menu on the team's row.
- Select Delete.
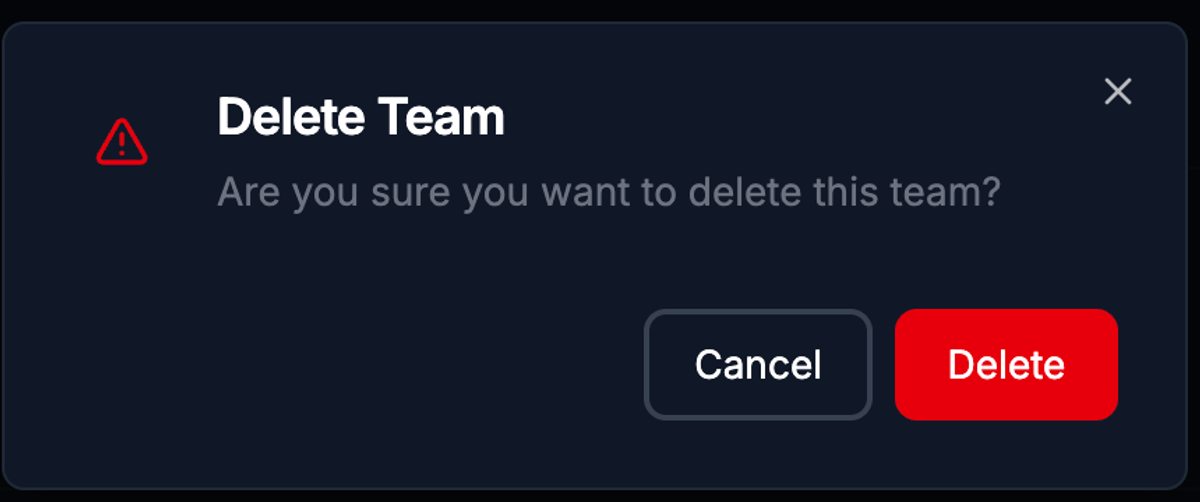
- Confirm the deletion in the dialog that appears.
Deleting a team removes it from your organization. This action cannot be undone.
What's next?
- Managing Venues -- Set up the locations where games are played.
- Managing Officials -- Manage your officiating roster and assign qualifications.